Getting Started for Recruiters
Welcome to Ashby! We couldn't be more excited to help you get started using Ashby as a recruiter. This guide assumes your team has set up their Ashby account using the Ashby Admin OnboardingAshby Admin Onboarding guide, and covers how to navigate Ashby and use the most commonly used features for recruiters.
New to Ashby as a Recruiter?
For a guided video walkthrough of everything in this article take the Recruiter Essentials track in Ashby Academy. It pulls together the Academy's recruiter lessons into one sequenced path, so you don't have to piece together each step on your own.
Log in to Ashby
To sign in, head to https://app.ashbyhq.com.
Ashby uses Google sign-in, Microsoft 365 sign-in, and magic links.
If your company has Single Sign-On (SSO) set up with Ashby, use this option to log in.
More on signing in can be found at Signing in to AshbySigning in to Ashby.
Configure your personal settings
A key first step is configuring your personal settings in Ashby.
In Personal Settings, you can do the following:
- Set your personal info, including your job title, user avatar, timezone, and social links
- Set your notification settings: determine the activities you should be notified about and where you'd like to be notified
- Set up personal email templates
- Set up OAuth if needed (confirm with your admin whether this is required as part of your Google Workspace or Microsoft 365 setup)
For a full walkthrough, check out Updating Personal SettingsUpdating Personal Settings
Navigate Ashby
Home page
If you are only interviewing candidates in the pipeline and have no other interaction with candidates, you likely have Limited Access in Ashby.
To get started, log in to Ashby at https://app.ashbyhq.com using one of the login options. You should already have an account set up. Once logged in, you land on your home page, where you can access interview briefings and tasks.
For a full breakdown of the home page, check out Home PageHome Page
Add and track referrals
To submit referrals:
- Head to the Referrals section of the Home page.
- Click + Referral.
- To create a direct referral, click Add Direct Referral and complete the referral form with the candidate details.
- To create a referral link, click Create Referral Link and give your referral link a title. You can then opt to link to a specific job posting using the Link to specific job posting? checkbox and selecting a job posting from the dropdown.

Our full guide on referrals can be found at Referrals and Referral LinksReferrals and Referral Links
Candidate profile
Depending on the permissions you are given, you may have access to view candidate profiles and take action on job considerations.
For further information on navigating a candidate profile, check out Candidate ProfileCandidate Profile.
Candidate pipeline
The Pipeline Overview provides you a view of candidates across all positions you have access to and allows you to quickly jump between them.
For more on the pipeline view, check out Candidate PipelineCandidate Pipeline.
Jobs - dashboard view
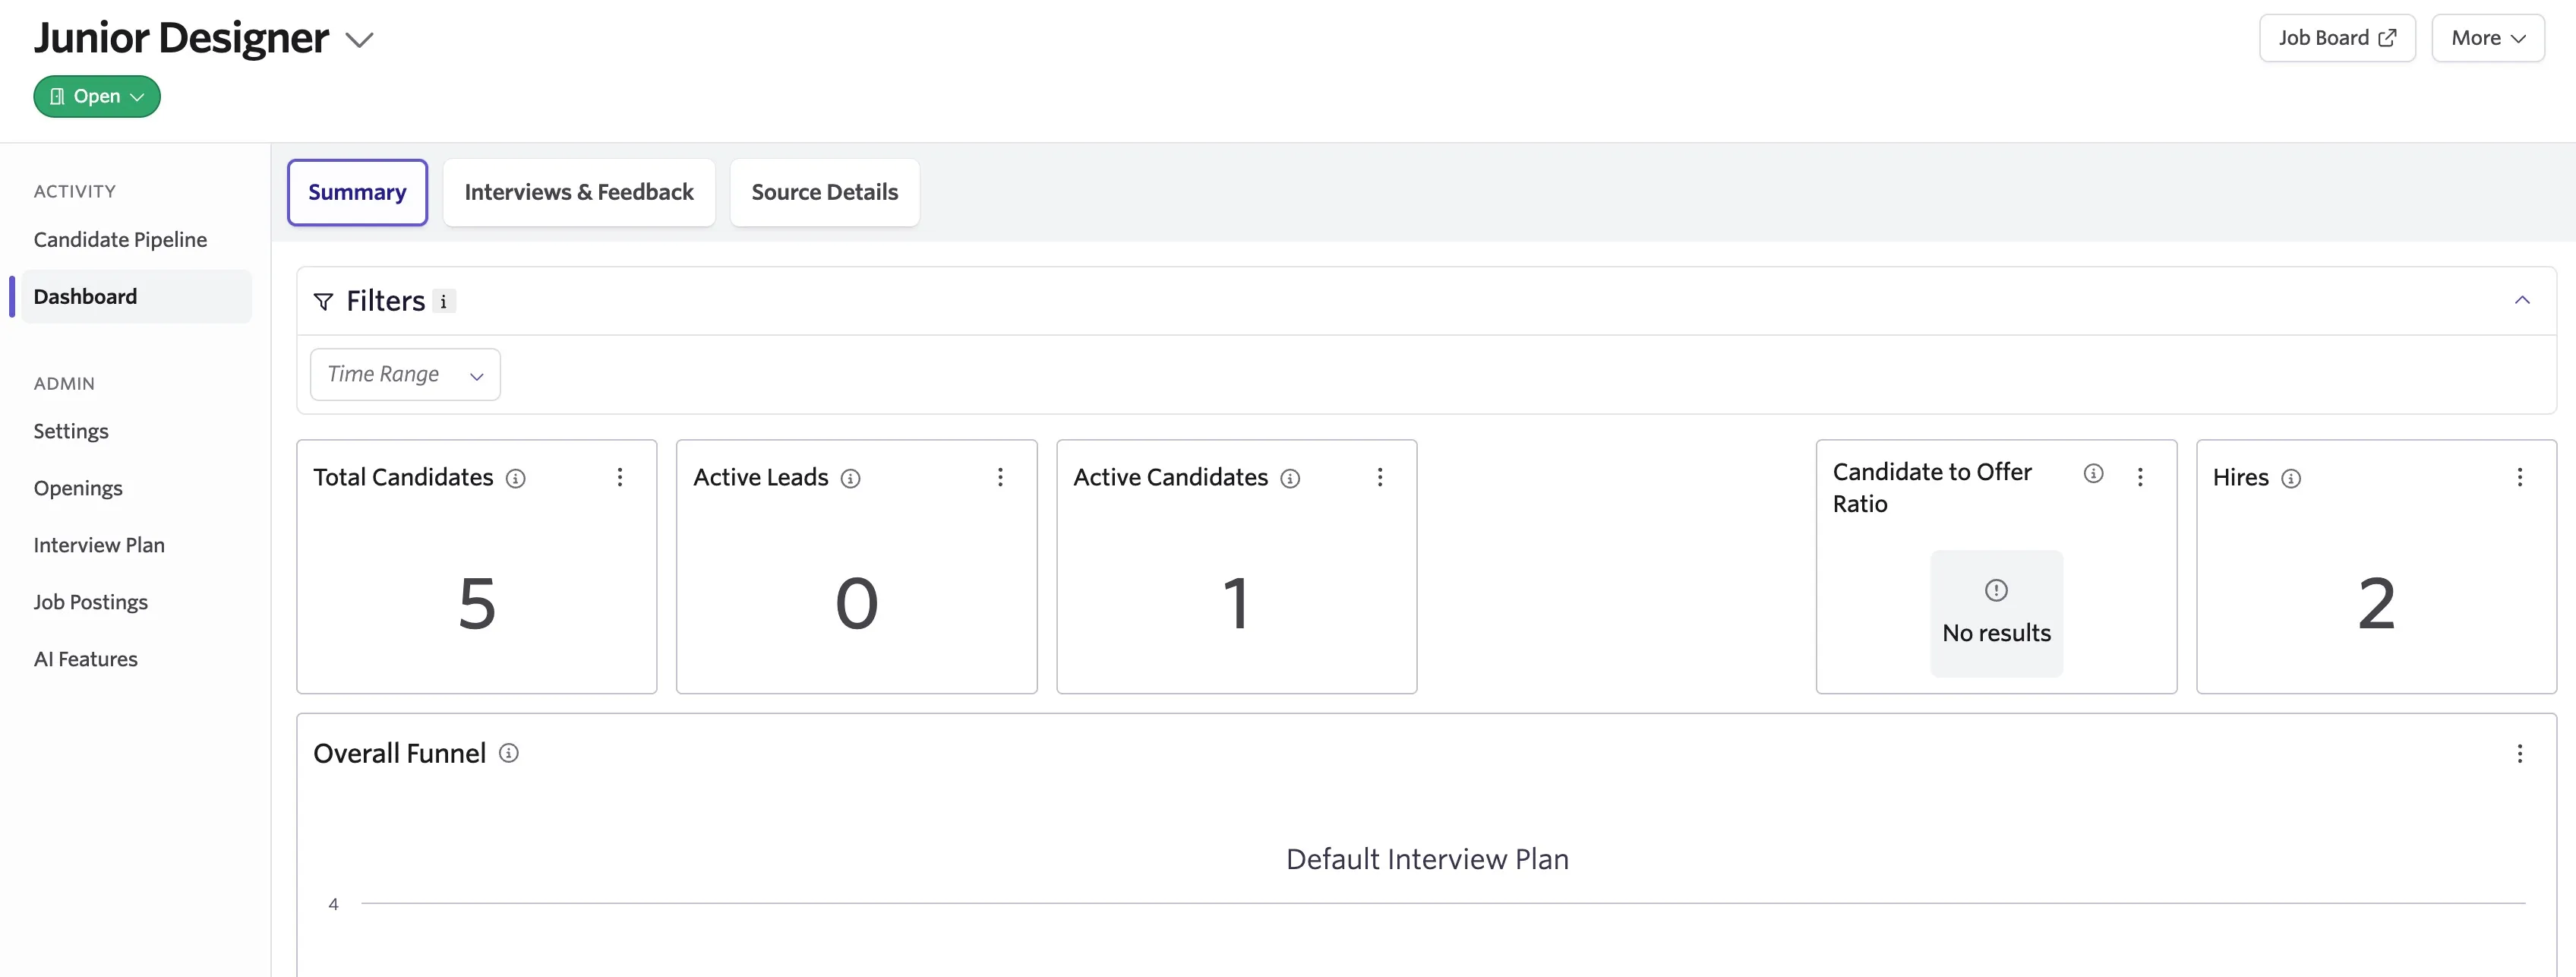
The Job Dashboard at Jobs > Dashboard is a high-level overview of the active jobs you follow, have a role on, and have access to.
You can also access the Job Board from this page.
We recommend bookmarking this page to quickly see all of your active jobs in one place.
Navigate Admin
If you have Organization Admin access, this section covers the settings you can customize in the Admin section of Ashby.
Many of the features you use in Ashby can be customized in Admin. This quick tour covers:
- Where you can adjust user permissions (on the Employees page).
- Customizing the interview process including interview plans, interviews, and feedback forms.
- Customizing more settings including archive reasons, email templates, and custom fields.
- Bulk importing candidates using Bulk Import Optionsemail or comma-separated values (CSV) import.
Common use cases
This section walks you through the key activities you complete as a recruiter, from opening and posting jobs to adding candidates to your Human Resources Information System (HRIS).
Opening and posting jobs
To create a job:
- Navigate to Jobs > Admin, then click Create a Job and follow the steps in the job creation wizard.
- At this point, you can open the job right away, or configure it further.
- In the Settings section, there are further configuration options on four tabs.
- When you're ready to open the job, click Job Status and select Mark as Open. An open job isn't automatically posted to your Ashby job board or any third-party job boards, but you can add candidates to the pipeline.
- When you're ready to post the job to your job board, set up a job posting on the Job Postings tab. You can create as many postings as you'd like for a job. Once published, the posting appears on your Ashby job board (for example, jobs.ashbyhq.com/ashby).
For a full guide on creating a job and job postings, check out Creating & Opening Jobs .
Advancing and archiving candidates
More about advancing and archiving candidates in Application ReviewApplication Review.
Scheduling interviews
With Ashby, you can schedule interviews manually, or create a structured interview process that automates the details of finding times and creating calendar invites.
For the full details of setting up and scheduling interviews, check out Scheduling & Interviews: An IntroductionScheduling & Interviews: An Introduction to view the options available.
Generating offers and offer letters
When a candidate moves to the Offer stage in the candidate pipeline, Ashby generates an offer activity in the Activities section of their candidate profile. Click Create Offer to complete the Offer Details form. The form data populates the substitution fields in the offer letter PDF.
You can also send out e-signature requests (sent via Dropbox Sign) and create offer letter templates to help structure your processes further.
For a full guide, check out Offers and Offer LettersOffers and Offer Letters and E-Signature OffersE-Signature Offers
Add candidates to your HRIS
When a candidate accepts an offer, you see an option to push hired candidates to your HRIS system. Clicking the button creates a new employee in the system, including the latest offer data.
All HRIS integration options can be found in the Integrations Marketplace.
FAQ
My profile picture has synced over from Google Workspace but it's very pixelated. Why?
Images synced over from Google Workspace do not have a high enough resolution. We'd recommend uploading your avatar within Personal Settings to fix this.