Candidate Files and File Categories
Additional files, like the candidate’s cover letter can be added to the candidate’s profile directly. This guide will walk through how to enable and create file categories, how to assign file categories to file upload questions on an application form and also how a user can assign a category when uploading files manually to a candidate profile within Ashby.
Overview
Adding file categories
To enable file categories:
- Navigate to Admin, then Organization Setup and File Categories.
- Enable the Enable File Categories option.
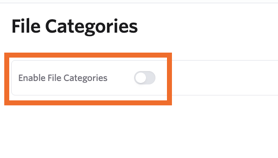
Some file categories will be available on enabling, including the following:
- Cover Letter
- Other
- Reference Letter
- Transcript
- Writing Sample
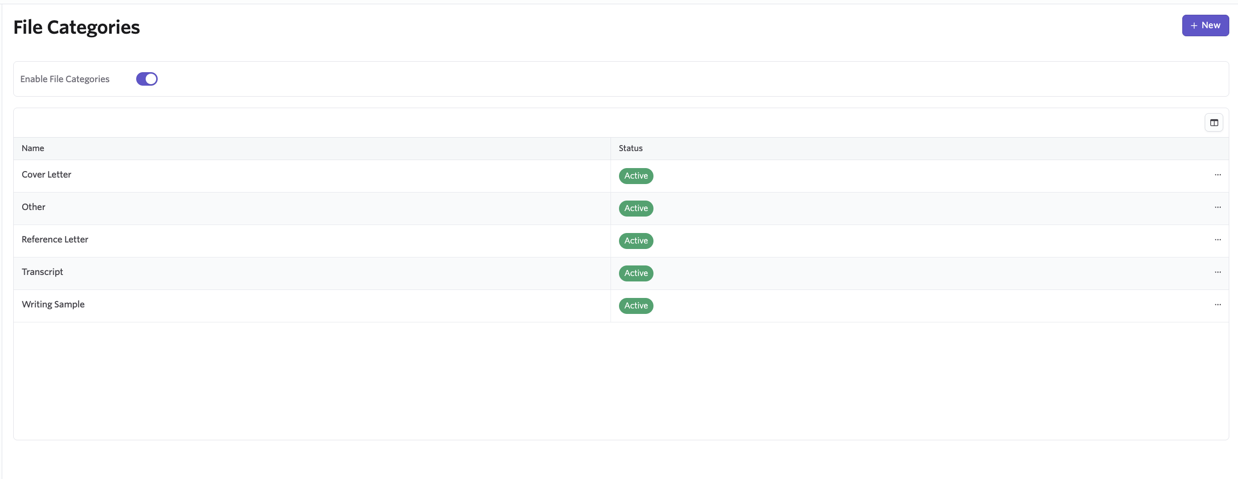
To edit an existing file category, click the three dots on the right-hand side of the category, then select Edit. You’ll also have the option to archive the category so it isn’t available to assign to a file when uploading it to a candidate profile moving forward.
If the file category’s status is Inactive, then clicking the three dots will give you the option to restore the category.
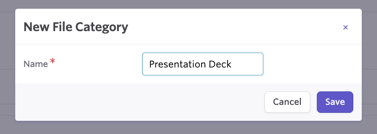
To create a new file category, click + New. You’ll then be able to give you category a name. Click Save to confirm and create your new file category.
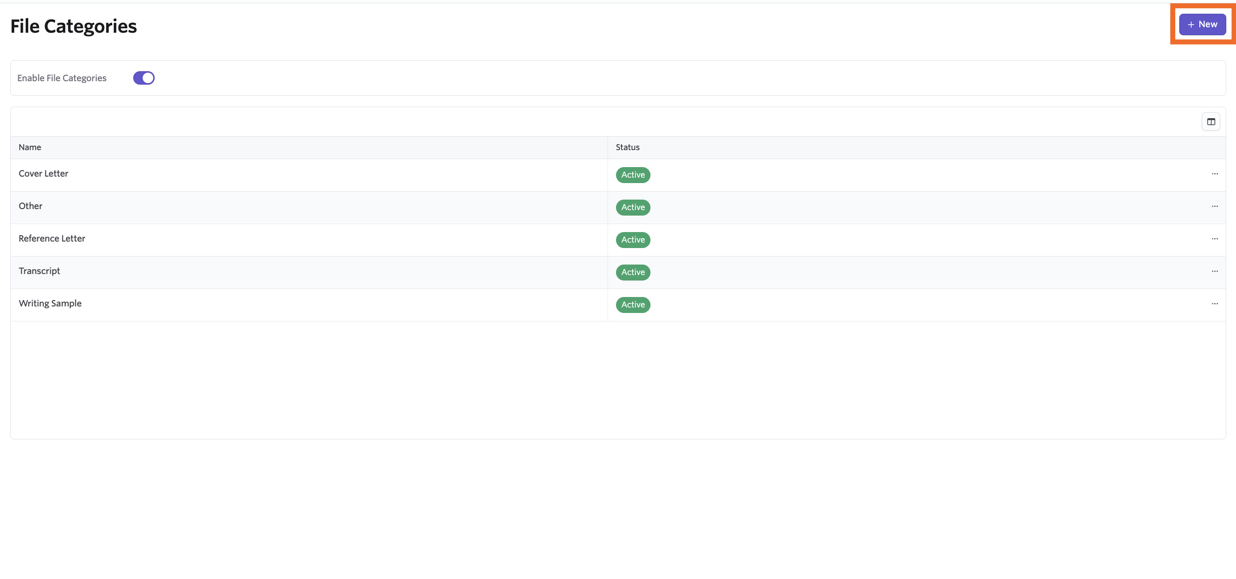
On saving your new category, it will automatically be set as active.
Adding file upload questions to forms
If you’d like to give the candidate the option to upload files as a part of their application, you can add a file question to an application form. More on configuring these at Application Forms.
File upload questions support files up to 50MB in standard document, image, and video file types such as:
- Documents: PDF, DOC, DOCX
- Images: JPG, JPEG, PNG
- Videos: Common video formats such as MP4
Executable file types (such as .exe) and certain text-based formats (such as .md) are not supported. If a candidate needs to submit content in an unsupported format, we recommend converting the file to a supported document type, such as PDF, before uploading.
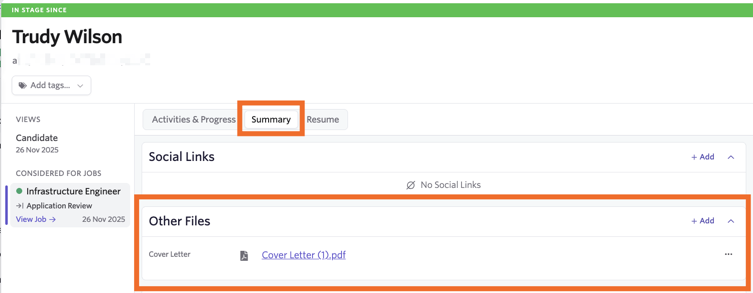
When creating your question, if you have file categories configured, a Save to Profile? checkbox will be available. If you check this checkbox, then the file uploaded via the application form will automatically be added to the Other Files section within the Summary tab of the candidate’s profile.
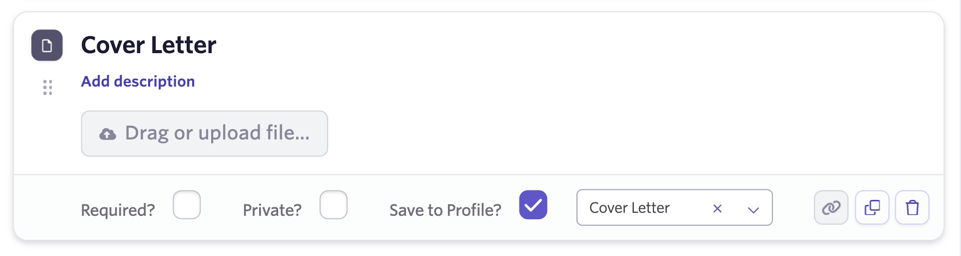
On checking the checkbox, you will be able to specify a file category to put the uploaded file under.
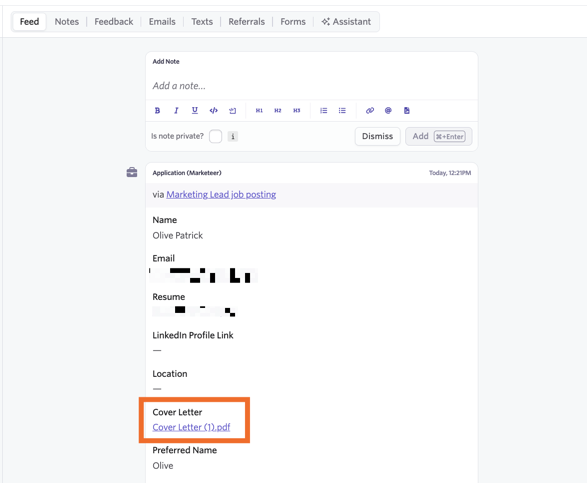
If you do not have file categories enabled, or opt to not check the Save to Profile? checkbox, then the uploaded file can be found within the Application activity on the candidate’s feed.
Uploading a file to the candidate’s profile
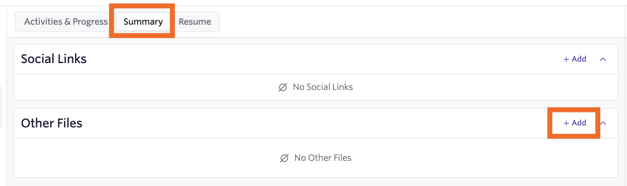
To upload a form to the candidate’s profile, head to the Summary section, then to the Other Files section.
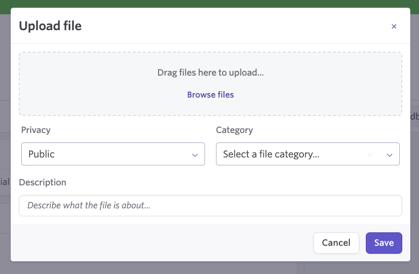
Click + Add, then select the file you’d like to upload. If you have file categories enabled, you will be able to confirm the file category the uploaded file should be added to and also add in an internal file description.
You will also be able to set the file as public (so visible to all users with access to the candidate profile) or private (so only visible to those with Organization Admin or Elevated Access - Admin Private access to the job, department, or location the job consideration is linked to).